
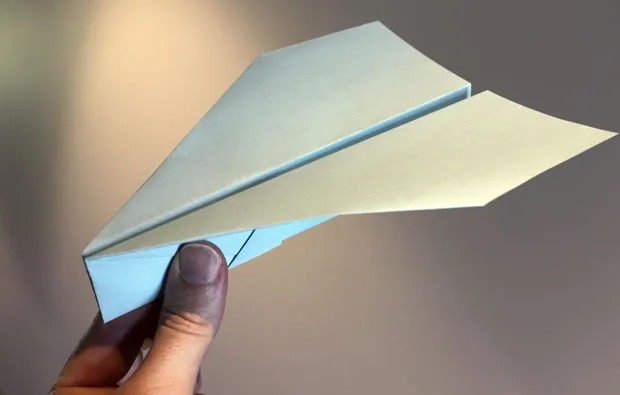
Nakamura Lock
📄 Materials Needed:
-
1 sheet of A4 or Letter-size paper (standard 8.5" x 11")
-
Flat surface to fold on
-
Optional: ruler for sharp creases
🧷 Step-by-Step Instructions:
1. Fold in Half Lengthwise (Hot Dog Style)
Fold the paper in half lengthwise to make a center crease, then unfold. This is your guide.
2. Fold the Top Corners to the Center
Bring the top left and top right corners down to meet the center crease, forming a triangle (like the start of a paper rocket).
3. Fold the New Triangle Down
You’ll now have a pointy triangle at the top. Fold that triangle down over the two flaps to lock them in place. The tip should now be pointing at you.
4. Fold the Top Corners to the Center Again
Take the outer corners (again) and fold them down toward the center line, but this time over the triangle flap you just made. You'll form a diamond-shaped tip.
5. Fold the Tip Up
You’ll see a small triangle sticking out at the bottom of the diamond — fold that little triangle up to lock the flaps in place. This is the “Nakamura lock.”
6. Fold the Plane in Half
Now fold the plane in half along the original crease, keeping all the folds on the outside.
7. Fold the Wings Down
Starting from the top edge, fold down each side to create the wings. The bottom of the wings should line up with the bottom edge of the body.
8. Add Wing Flaps (Optional)
Fold tiny flaps at the back edge of each wing slightly upward. These act as elevators and add stability.
🛠️ Flight Tips:
-
Throw gently but firmly — aim slightly upward.
-
Adjust wing flaps to change direction and glide length.
-
Use smoother paper for longer glides; heavier paper flies straighter.
🏆 Why It Works:
The Nakamura Lock gives the plane a slightly heavier nose, improving glide stability and flight distance. It’s ideal for indoor flights or controlled outdoor throws.


Comments
0 comment